
How to Program a Chamberlain Garage Door Remote
Programming a Chamberlain garage door remote is something many homeowners need to do at some point. It comes up when you buy a new remote, replace one that was lost, or set up the built-in garage controls in your vehicle, like HomeLink. Without programming, the remote won’t be able to connect with the opener, which means the door won’t move.
There are two main ways to handle the setup. One involves having a working remote in hand, which makes the process quicker. The other works even if you don’t have a remote, relying on the opener’s control panel or keypad instead. You should know both methods to save your time whenever you get stuck in an unexpected situation.
Chamberlain is one of the most trusted names in garage door openers, and their systems are built with rolling code technology. This feature changes the access code each time the remote is used, which makes the opener more secure than older fixed-code models. Because of this technology, the steps to program a Chamberlain remote are a little different compared to other brands, and that’s what this blog will walk you through in detail.
How to Identify Your Chamberlain Garage Door Opener
Before you start programming, it helps to know exactly which Chamberlain opener you have. Different models may use slightly different steps, and the features they support can also vary.
1- Finding the Model Number
xThe easiest way to identify your Chamberlain garage door opener is by checking the unit itself. Most models have a sticker or label placed on the back of the motor housing, along the side panel, or near the light cover where the antenna wire hangs. This label includes details such as the model number, serial number, and the date it was manufactured. If you still have the original user manual that came with the opener, you can also find the model information there. Having the correct model number on hand will help you follow the right programming steps later.
2- Learn Button Colors and What They Mean
Every Chamberlain opener comes with a “Learn” button, which is used to sync remotes and keypads. You will usually find this button on the back or side of the motor unit, close to the antenna wire. The color of the Learn button indicates the type of technology your opener uses. A yellow button means the opener runs on the newer Security+ 2.0 system, while a purple button corresponds to the 315 MHz frequency. Red or orange buttons operate on 390 MHz, and green buttons are linked to older Security+ systems. These colors matter because they determine which remote controls and accessories are compatible with your opener.
3- Rolling Code vs. Fixed Code
Most modern Chamberlain models use rolling code technology, also known as Security+. With this system, the access code changes each time the remote is pressed, which makes it much harder for intruders to copy the signal. Some older models still use fixed codes, which stick to the same signal every time the remote is pressed. While fixed code openers are simpler to program, they don’t provide the same level of protection. By identifying your opener’s Learn button color and knowing whether it uses rolling code or fixed code technology, you’ll be able to choose the correct programming method and compatible remote.
How to Program a Chamberlain Remote
Programming a Chamberlain garage door opener is straightforward when you already have a working remote or you’re setting up a new one alongside your existing system. The process always involves the Learn button on the motor unit, but the exact steps depend on the type of remote or control system you’re using. Below are the three main ways to program Chamberlain openers with an existing remote. rain.
1- Standard Handheld Remote Programming
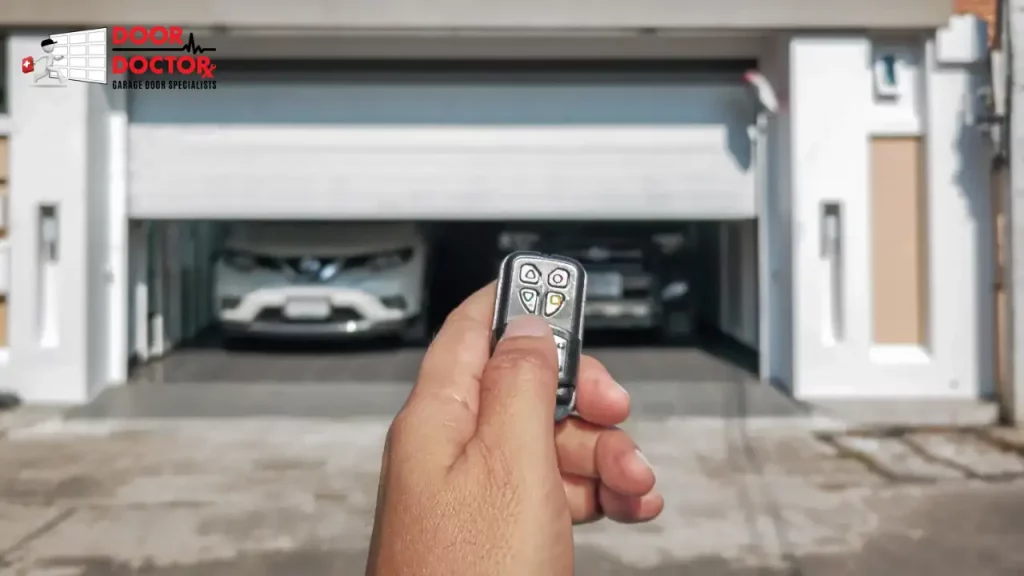
Most Chamberlain garage door openers are programmed using a simple handheld remote. These are the small clickers that come with the unit or can be purchased as replacements.
Step-by-step instructions:
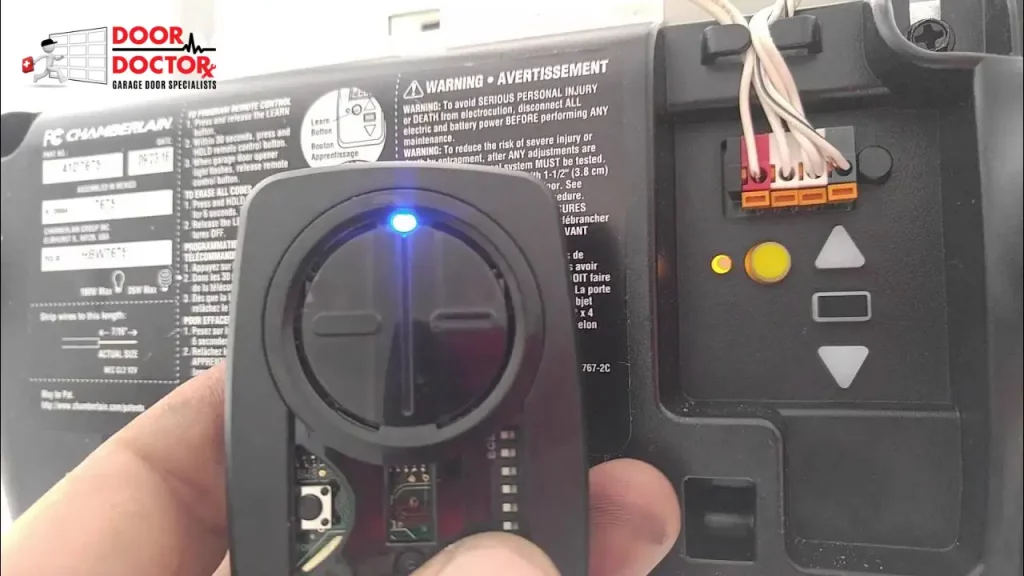
- Locate the Learn button on your opener’s motor unit. It’s often found on the back or side panel near the antenna wire.
- Press and release the Learn button. The indicator light on the opener will turn on, showing the system is in programming mode.
- Within 30 seconds, press and hold the button on your remote that you want to program. Keep holding until you see the light on the opener blink or hear two clicks.
- Release the remote button. The light should turn off, confirming the code has been stored.
Understand the lights:
- A steady light means the opener is ready to learn a new signal.
- A flashing light after pressing the remote means the programming worked.
- If the light doesn’t flash, the signal wasn’t stored, and you may need to repeat the process.
How many Chamberlain remotes can be programmed?
Most Chamberlain openers can store multiple remotes at the same time. Depending on the model, you may be able to program 5 to 7 handheld remotes along with a keypad and vehicle system.
2- Programming a Vehicle’s Built-in System (HomeLink / Car2U)
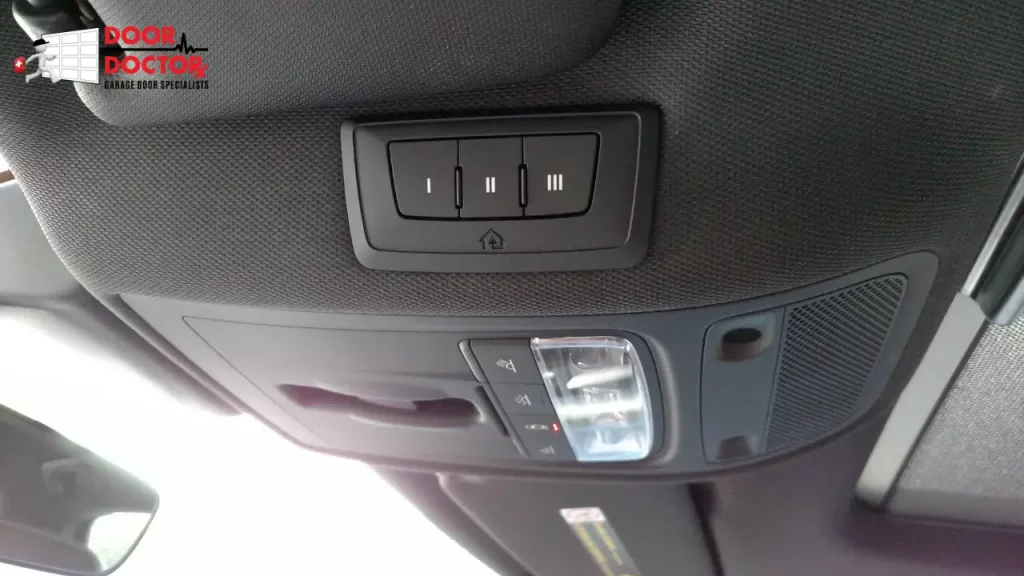
Many newer cars come with built-in garage door buttons, often located on the rearview mirror, sun visor, or overhead console. These systems are usually HomeLink or Car2U, and they allow you to control your garage door without carrying a separate remote.
- Step 1: Clear old codes in the vehicle system. Hold down the two outer buttons on the HomeLink or Car2U panel until the indicator light starts blinking rapidly. This erases any previously stored codes.
- Step 2: Train the vehicle button with your remote. Hold your Chamberlain remote a few inches away from the vehicle’s control panel. Press and hold the remote button while simultaneously holding down the in-car button you want to program. The indicator light on the car will first blink slowly, then faster. When it blinks rapidly, the signal has been captured.
- Step 3: Sync with the garage door opener. Press and release the Learn button on your Chamberlain motor unit. Then, within 30 seconds, go back to your car and press the programmed button twice (holding for 2 seconds each time). The garage door opener should click or the light should flash, confirming the connection.
Common car brands that use these systems:
- HomeLink is found in many brands such as Toyota, Honda, BMW, Mercedes, Ford, and Chrysler.
- Car2U is seen in certain Ford and Lincoln vehicles.
Troubleshooting Tips:
- If the garage door does not respond, make sure the remote you’re using to train HomeLink has a working battery.
- For rolling code models, timing is important. Press the Learn button and return to the car quickly to complete the sync.
- Some vehicles require multiple presses of the programmed button before the opener accepts the code.
3- Universal Remote Programming
If you don’t have the original Chamberlain remote, a universal remote can also be programmed to work with your opener. Universal remotes are widely available online and in hardware stores, but it’s important to buy one that lists Chamberlain compatibility on the packaging.
Steps to program a universal remote:
- Locate the Learn button on your Chamberlain opener and press it once.
- Within 30 seconds, press and hold the button on the universal remote you want to use.
Wait for the opener’s light to blink or for a clicking sound, which indicates successful programming. - Test the universal remote to confirm the door responds.
Compatibility tips:
- Always match the universal remote to your opener’s frequency and Learn button color. For example, a remote designed for yellow button models may not work with older green button systems.
- If your universal remote comes with dip switches or mode settings, follow the instructions in its manual to configure it properly before programming.
- In some cases, universal remotes can control more than one garage door opener, making them a practical choice for families with multiple doors.
How to Program a Chamberlain Remote
Programming a Chamberlain remote is usually simple, but sometimes things don’t go as planned. Here are the most common issues people face, why they happen, and how to fix them.
1- Remote Won’t Program
If your remote isn’t syncing with the opener, start with the basics. Check that the remote has a fresh battery, as a weak battery can prevent the signal from reaching the opener. Make sure you’re standing within a few feet of the motor unit when programming, since distance and obstacles can interfere with the signal. Timing is also key. After pressing the Learn button, you have about 30 seconds to press the button on your remote. If you wait too long, the opener leaves programming mode, and the attempt will fail. You can contact the experts at Door Doctor for complete garage door repair services in Northern Virginia.
2- Learn Button Doesn’t Respond
If the Learn button on your opener doesn’t light up or respond when pressed, the unit may need a reset. Try unplugging the opener from the power outlet for about 30 seconds, then plug it back in. This power cycle often restores the system. Some Chamberlain models also have a lock mode, which disables the remotes temporarily. If the lock feature is turned on, the Learn button will not accept new signals. Check the wall control panel for a lock or vacation switch and turn it off before trying again.
3- Remote Seems Programmed but Door Doesn’t Move
Sometimes the remote appears to program correctly, the lights blink or the opener clicks, but the door doesn’t move. This could point to a problem with the opener itself rather than the remote. Make sure the opener is plugged in, the safety sensors near the bottom of the door are aligned, and nothing is blocking the door’s path. If the wall button still works but the remote doesn’t, repeat the programming steps to confirm the code was stored.
4- Lost All Remotes
If you’ve lost every remote connected to your opener, you’ll need to start fresh. Most Chamberlain models allow you to erase all stored codes by holding the Learn button down for about 6 to 10 seconds until the light turns off. This wipes out all programmed remotes. After that, you can program a new remote or a universal remote by following the standard steps. If you also have a keypad or vehicle system, those will need to be reprogrammed, too.
When to Call a Professional Garage Door Technician?
If none of these fixes solves the problem, the opener may have a hardware fault. Issues like a damaged circuit board, faulty antenna wire, or motor problems usually require professional service. Calling a trained technician is the safest option if your opener doesn’t respond to any programming attempts or if the door doesn’t move even when using the wall control.
Safety and Maintenance Tips for Chamberlain Remotes
Keeping your Chamberlain opener safe and well-maintained doesn’t take much effort. These points will help you protect your home, avoid accidents, and keep the system running smoothly.
- Keep children and pets away from the door while it opens or closes. Store spare remotes out of reach of kids to prevent accidental use.
- Reset and reprogram remotes if one gets lost or if you’ve moved into a new home. This keeps old remotes from gaining access.
- Replace remote batteries once a year or sooner if the range weakens.
- Test remotes often to confirm they still open and close the door correctly.
- Check safety sensors by placing an object in the door’s path while the door is closing. The door should reverse if sensors are aligned.
- Clean or realign the sensors if the door doesn’t respond properly.
- Consider replacing older remotes with stronger signals and updated security features.
Wrapping Up
Programming a Chamberlain garage door remote may seem technical at first, but once you know where to find the Learn button and understand the steps, the process becomes much easier. If you already have a remote, you can quickly sync it with your opener, your vehicle’s built-in system, or even a universal remote. If you don’t have one, the Learn button and keypad options give you other ways to set things up.
Along the way, small details like battery strength, timing, and the color of your Learn button play a big role in getting the remote to work correctly. Troubleshooting common issues, keeping safety in mind, and following a few basic maintenance habits will help your Chamberlain system stay dependable for years.
By using the methods covered in this article, you will be able to connect your remotes, keep them secure, and enjoy smooth operation of your garage door opener every day.